Radix User Management
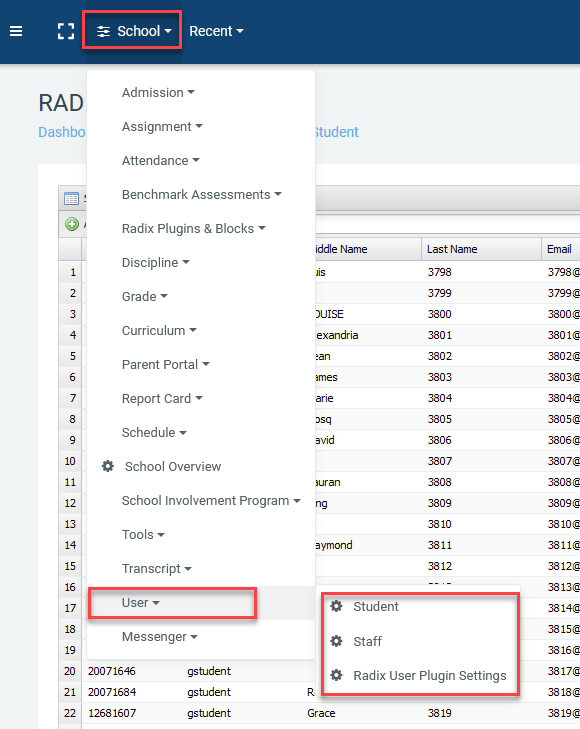
Radix LMS user management menus are located under School >> User where you can add/edit your students and staff information as well as their roles.
How to add/edit students
The student management menu is located under School >> User >> Student. On this page, you can add new students, export the list of students with their demographic and contact information, edit student information, withdraw a student, edit parent information, and print a student grade history report.
To add a student, click on the "Add new student" button at the top left corner of the report window and fill out the required fields on the pop-up window. The required fields are marked with a red asterisk and are only on the first tab. Information on the other tabs is optional. Please note that "Username", "Email", "ID Number" must be unique. The system will give you an error message if you try to add a duplicate value for these fields. Once done entering the information, click "ok" or "apply" to save the new student.
 Add new student | 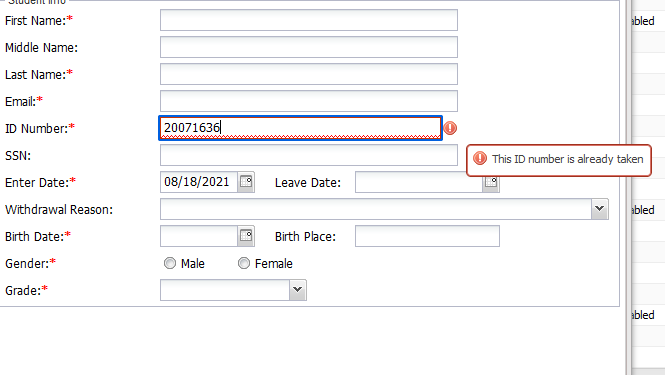 Duplicate value warning |
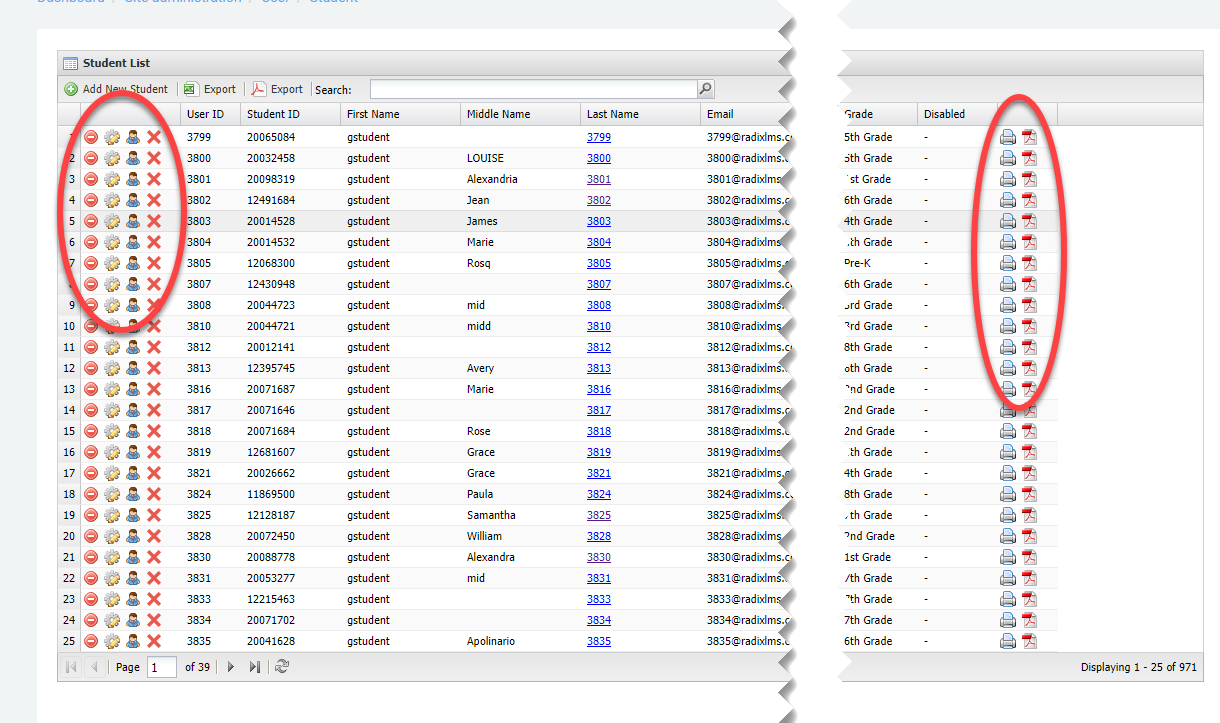
We will use the icons at the beginning and end of each row to withdraw, edit, add/edit contacts, delete, print grade history, or print student schedules.
How to print student schedules
You can print the student schedules individually by clicking on the PDF icon at the end of the student’s row, or in bulk by clicking on the “Export” button on top of the list.
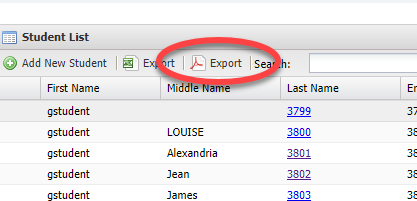
Print student schedules in bulk
Bulk print action will provide you with a single PDF file with multiple pages, with each student’s schedule being on a separate page. The sorting of these pages reflects the sorting of the student list. You can sort the pdf pages by student ID, first name, last name, grade level, homeroom teacher, or homeroom course. You can also filter or search students based on any value on the list and print the schedules of those found on the search/filter results. Please note that the student schedule pdf export includes withdrawn students too, if you want to exclude them from the export you will have to filter out the disabled users from your list.
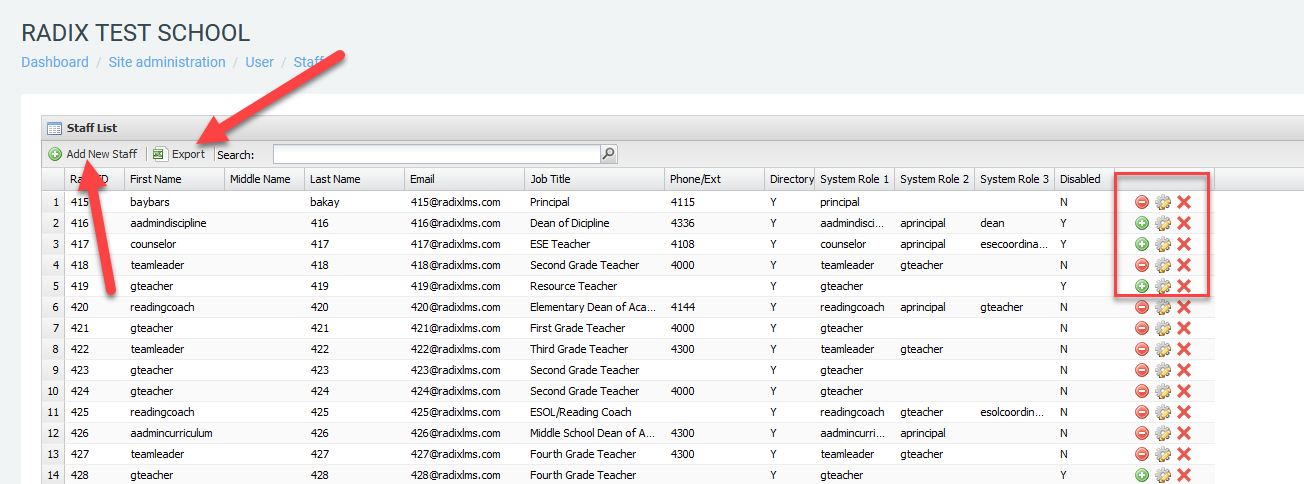
How to add/edit staff
The staff management menu is located in the same place where the student menu is School >> User >> Staff. On this page, you can add new staff, export the list of staff members, change their roles or password or disable a staff account. When you disable a staff, the account will be locked and he/she will no longer have access to the site. Once a teacher's account is disabled, her name will no longer appear on the course participants' lists. Enabling the teacher will restore her course enrollments as well as her account.
 | Click on this icon to disable a staff or withdraw a student providing the date and reason for withdrawal. This operation will not delete the student account and will not remove the student from scheduled courses. It will only disable the account so that you can enable it if the student re-enrolls to school. When you re-enroll (enable) a student, all of his/her course enrollments, grades and submissions will be restored. |
 | This icon means the student/staff has been disabled. Clicking on this icon will enable the student and restore the course schedule and grades. |
 | Edit student/staff information such as password, birthdate or special programs etc. |
 | Add/edit parent information. This is where you can add parent contacts for the progress emails. |
 | Delete student/user permanently. This operation will completely delete the user from the system including their enrollments, activity, grades, and any other user data? User/Student can not be restored after this operation. |
 | Student's grade history report in pdf format. This will include the current year's grades as well |
 | Print student’s schedule. |