Administering Paper Based SBA
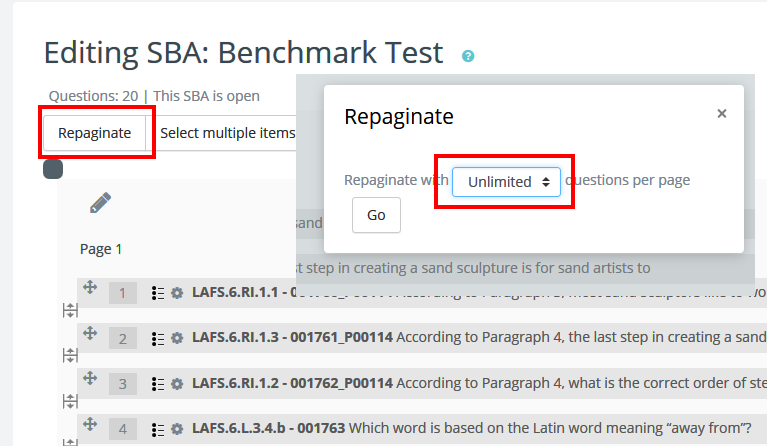
This manual explains the administration, scanning and grading process of Paper-Based SBA on Radix LMS. To administer a paper-based test, your SBA activity has to be created and assigned to students in your course. Please make sure the questions in your SBA are all multiple choice, not shuffled and not paginated (unlimited questions per page).
Configure your SBA test
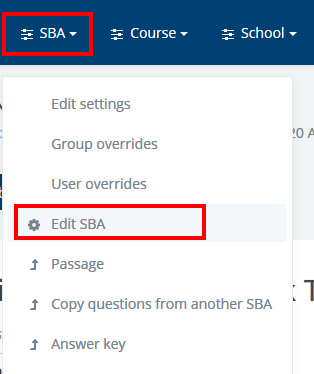
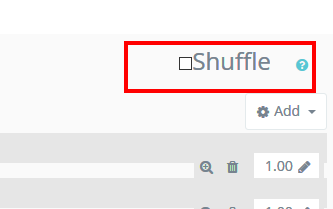
Pagination and shuffling options can be changed by going to "Edit SBA" settings under "SBA" dropdown menu. See screenshots below:
|
|
Unlimited questions per page |
|
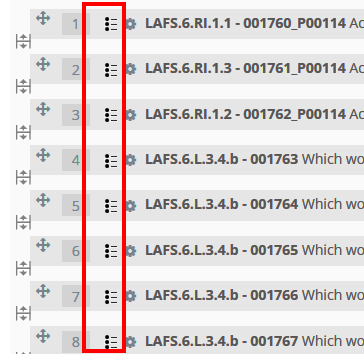
All multiple choice |
|
Not shuffled |
|
Once the test is created and above configurations are done, you can now print out the questions and bubble sheets to administer the test.
Print Bubble Sheets
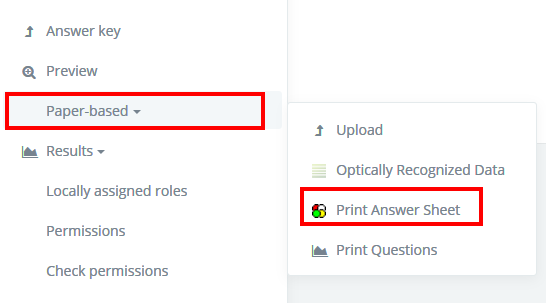
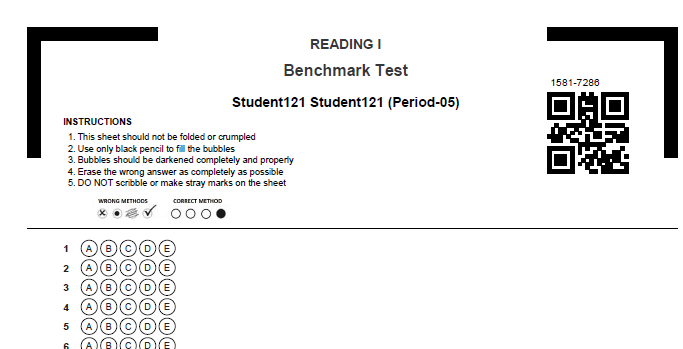
Expand the Paper-based option under the SBA drop down menu on top and click on "Print Answer Sheet". This will start download process of the pdf bubble sheets for each of the student. Save or Open the file to print the answer sheets.
Important: The answer sheets must be printed in good quality without any black lines, light or faded areas or any other problems.
|
|
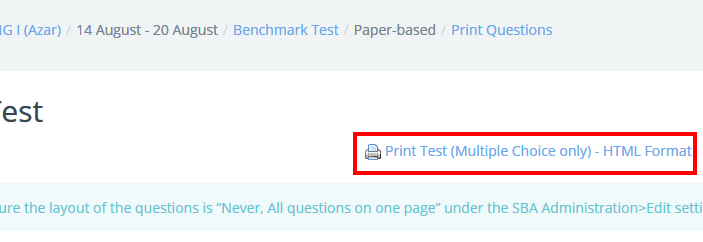
Print Questions
To print your test click on the "Print Questions". This will take you to a page where you can see all questions on one page. Use your browser's menu to print your test. 
Scanning answer sheets
While administering the test, make sure the students do not write anywhere on the bubble sheets other than bubbling the choices. If there are any scribbles or stray marks on the answer sheets, they should be erased before scanning to minimize recognition problems.
After you are done administering the test, scan the answer sheets and save the documents to your computer. Answer sheets should be scanned in good quality without any lines, marks or grayed out areas. The scanner settings should be:
- Single page (meaning each student's answer sheet is a separate file)
- TIF or PNG image format
- At least 200-300dpi resolution
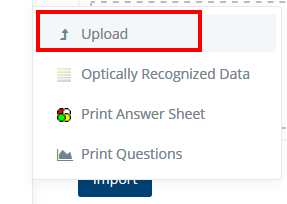
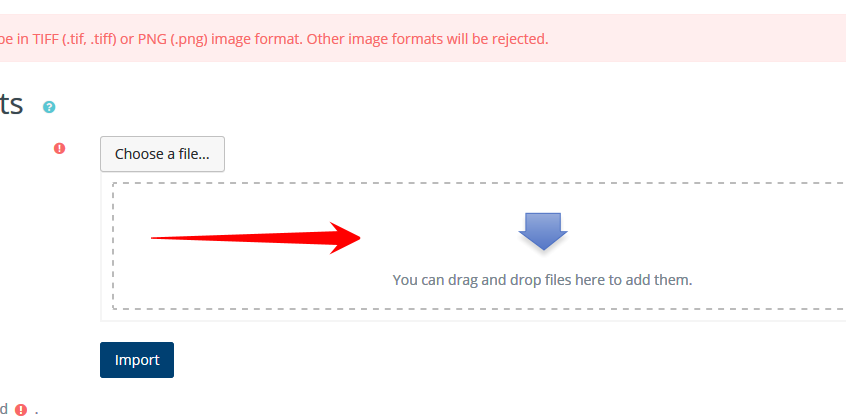
Uploading scanned answer sheets
Compress the image files into a single ZIP file. (If you have only one answer sheet, no need to compress it). When compressing your scanned images, make sure to not to compress the containing folder, but just the images. Once done, click on "Upload" link under paper-based menu and drag-and-drop your ZIP file into the upload area and import.
|
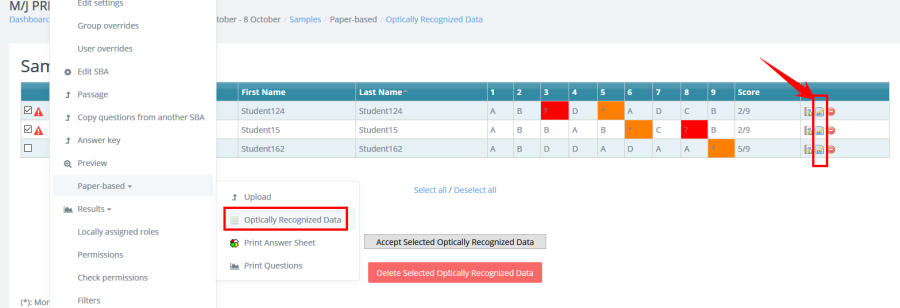
Review optically recognized data
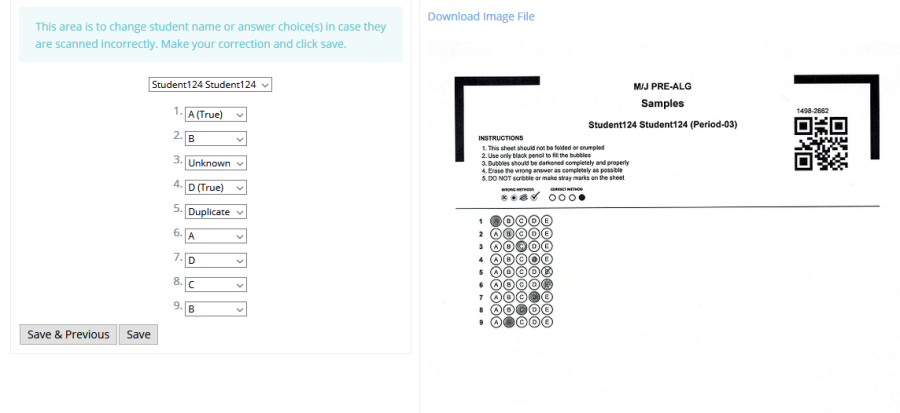
Click on "Optically Recognized Data" to see the list of uploaded images. Please check to see if all of your scanned answer sheets are on the list. At this point, your uploaded answer sheets are queued for processing which will take up to 15 min. Once the processing is done, you will see the recognized data on the same screen. Click on the edit icon at the end of each row to make corrections if there are any incorrect reading.
|
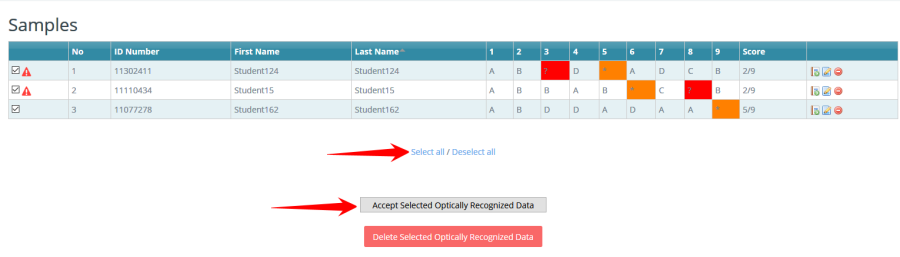
Accept and record responses and grades
After reviewing scanned answer sheets and correcting the errors, click on "select all" and "accept selected optically recognized data". This will record the responses and insert grades to the students' gradebook. You can delete any of the scanned sheets and re-upload it if you need to.
|